Showing posts with label Big Shot. Show all posts

8/11/10

Project 12 July

Hi again! Here is my latest Project 12 layout for the month of July. I loved this sketch this month because it allowed for so many photos! I did have many photos from July so this was perfect! The biggest family event in July was my brother's wedding, so many photos are from that, as well as the 4th of July, Andy's birthday, and a balloon festival.

I used patterned paper from BasicGrey's Lemonade collection, and flowers that I made at the CKC convention in the Creating Keepsakes flower technique class. I used the Tim Holtz ticket die cut strip from the Big Shot to make the tickets and then stamped some Ali Edwards sentiments inside the tickets. Here is a close-up of the tickets and flowers (sorry for the photo glare, I've been having problems with that lately!):
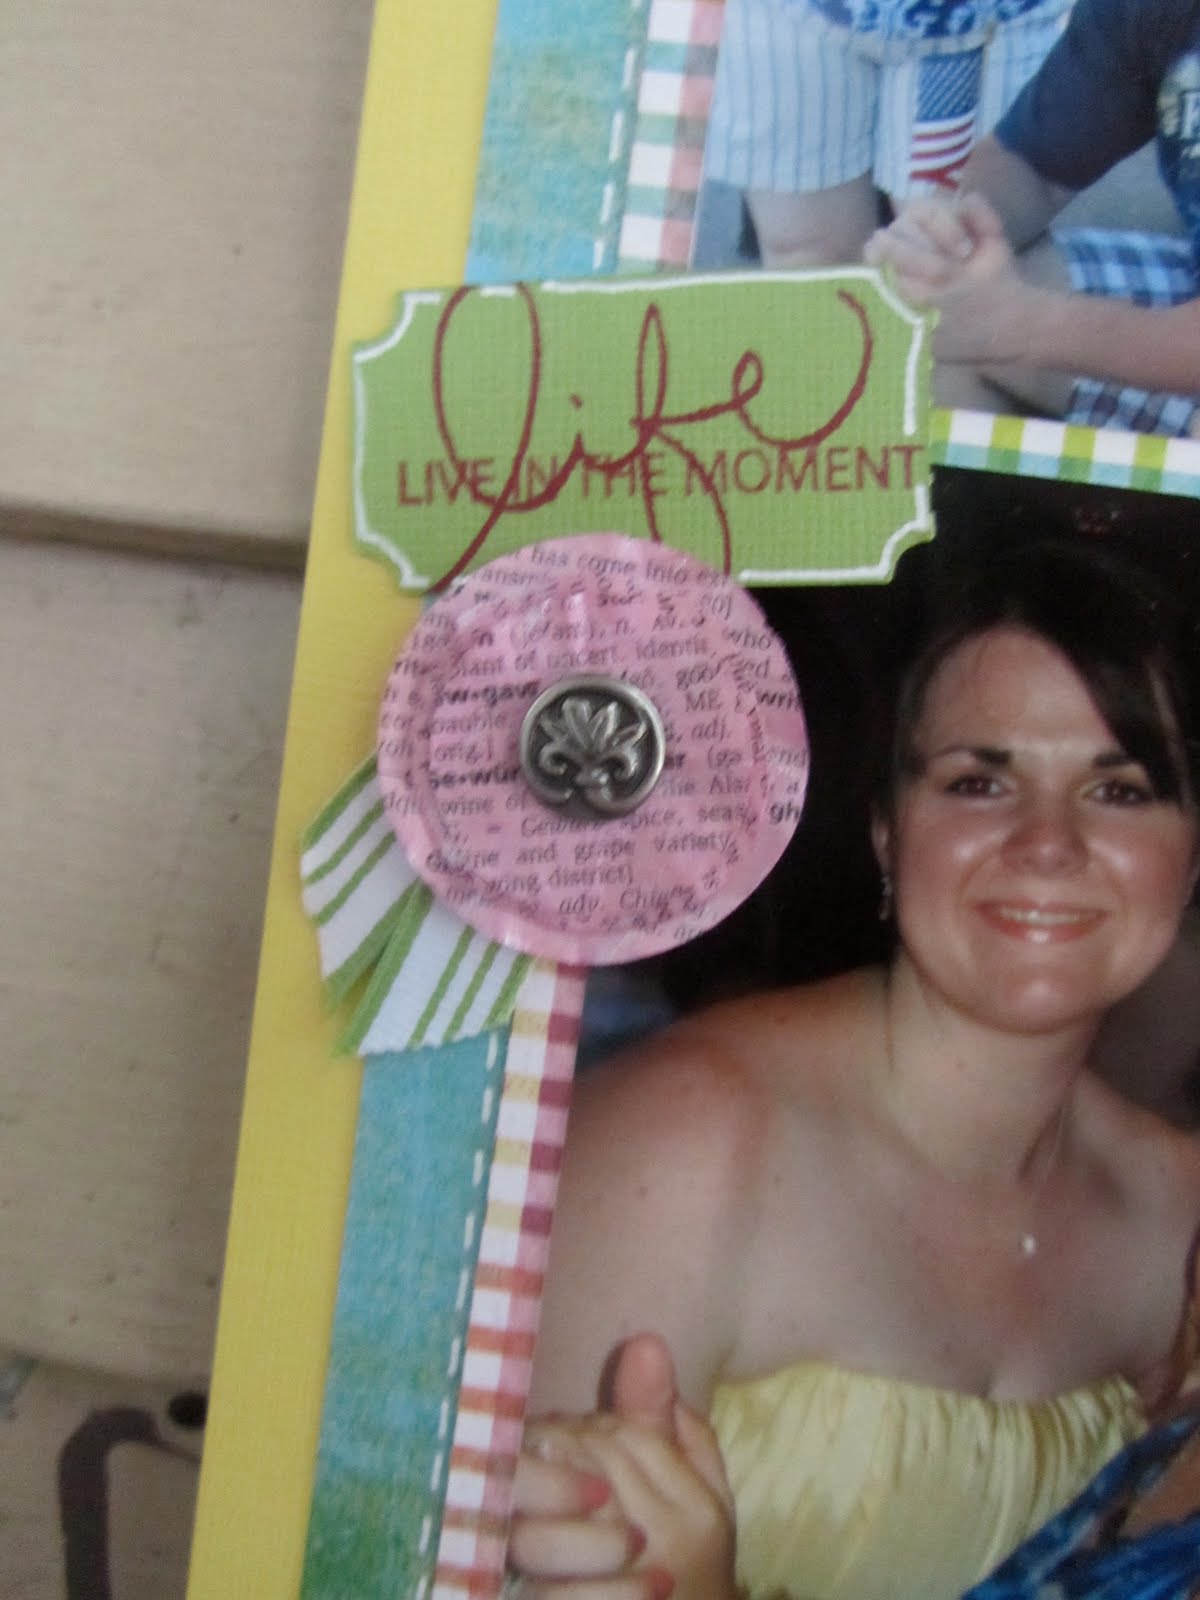
This is the ticket from the other side of the layout, and a fun layered circle flower made from dictionary paper which was glimmer misted:
Thanks for stopping by tonight!

8/3/10

Scrap August!!


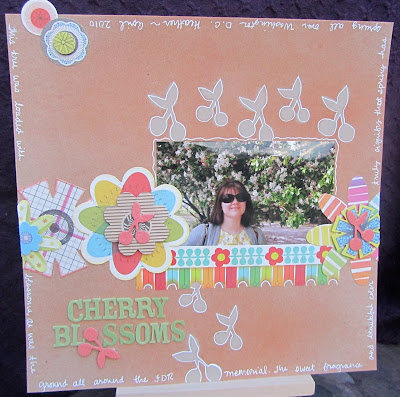
Wow, it's been awhile! Life has calmed down a bit and I've vowed to make August a very scrappy month! My goal is to make at least a page a day, and so far I've kept that promise (well not today yet, but I have plans to!). This past weekend I attended CKC in Valley Forge, PA, and took some really awesome classes. One class was sponsored by Studio Calico, and we got to explore Maya Mist. I'd never used it before and I didn't realize that it's more like a spray paint than glimmer mist. I was pleasantly surprised! These are the two los we made in that class using masking and misting (and they even have photos on them!):

I really love the idea on "Cherry Blossoms" which was to use die cuts (the cherries) as masks and then mist over them. Since you use the back side of the die cut chipboard piece, you still have the front side left over to use as an embellishment.

I explored the misting a bit more at home yesterday, and made my own lo with glimmer mist and masking. I just cut a piece of white paper the size I wanted to mask, and then put it on my cardstock and misted over it. This was the awesome result:
I signed up for Kelly Purkey's Sketchbook2 class over at Studio Calico, and my first sketch came to my inbox yesterday. I always thought it was a waste to pay for sketch classes because there are so many free sketches online, but let me tell you it is worth it! I got so much inspiration from this sketch and I loved seeing all the different takes on it from the SC design team. I was inspired to make this lo, and another which I haven't photographed yet.

I also pulled out my Dear Lizzy fabric paper and played around a bit. I die cut it with my Sizzix to make the leaves and flowers, and then took my edge distresser around the pieces to get the frayed look. I also ripped the paper (which ended up ripping off the adhesive, but that was okay I just added my own) and placed it under some of the accents. Here are some close-ups:
That's all for today, I'm off to run some errands and then coming home for some scrappy time!
Thanks for stopping by!

3/21/10

Home Grown

Hi! Christine's bridal shower was yesterday, and it was a success! She was surprised and wasn't expecting it! Today our family went over to help sort out the gifts, and then tonight I was able to get some scrappy time in (which hasn't happened in almost 2 weeks!).

I made this lo tonight using Scrap for a Cure's March Kit called "Strawberry Fields". My lo follows a sketch from their website which was designed for this month. These are pictures of my Mom and I next to a large wine barrel at Four Sister's Winery, which we visited this past fall for some wine tasting.

I cut the grapes from a Sizzix Sizzlit die cut (which was meant to be a cherry, but with purple paper I transformed it). I also cut the watering can from the Circut with the "Walk in my Garden" cartridge. Both are on a pretty glimmer misted (or Shimmerz) doily which was included in the kit already glammed up! Here are some close-ups of each:

I'll be back later in the week to share the rest of the shower gifts that I made for Christine. Have a great start of your week tomorrow!

3/18/10

Newlywed Banner!

I haven't had much scrappy time this week, but instead a lot more personal things going on. However, I had no school on Monday because the town water main burst and there was no water (funny because most of NJ had too much water over the weekend), so I was able to work on this wedding gift for my brother and his fiance. The bridal shower is this weekend, and I wanted to give a gift in addition to the bridal party's gift. This is part 1: a fabric banner! First, I have to say the photos do not do it justice because it was cloudy and rainy still on Monday and they are a bit dark, but it is soooo pretty in real life!


To make, I used wonder-under and ironed it onto the fabric, and then ran that through my Big Shot with the SU! banner die cut. I then stitched around the inside of the banner with a straight stitch (on the sewing machine). I used some In-Color grosgrain polka dot ribbon from SU! to connect the banner, and all I did was pin the ribbon to each banner and then run it through my sewing machine to adhere them together with a zig zag stitch. I then embellished the front by making these cute fabric flowers and then cutting the letters from my Big Shot out of chipboard and paper.

The whole process really only took me 1 and 1/2 hours! Here is a close-up of each letter: (RHC, for Robby, Heyrich (our last name), Christine)
Thanks for stopping by!

12/8/08

Believe!

Wow, it's been too long! I wanted to share this Christmas banner I made tonight to hang in our living room.  I used Ski Slope dp, as well as Baja Breeze cardstock.  I stamped an image from "Season of Joy" on the largest pennant.  All edges were inked with a dauber and ink pad.  For the embellishments, I cut the snowflake from my Big Shot, out of white paper, and then heat embossed it with iridescent ice ep.  The letters were cut out with my Serif alphabet, out of chipboard, then inked with an Old Olive craft pad, and heat embossed with clear ep.  The whole thing was stringed together with cranberry grosgrain ribbon.  Here is a close up of one of the pennants.  The other pennants look identical, except for the letter.

Thanks for stopping by!

10/22/08

Birthday Wishes

Good evening! I have some birthday cards to share tonight, which I made this past weekend.  This month, SU! has select birthday sets at 20% off, which is a great deal! I finally got my Top Note die cut in the mail, since it has been on backorder for a few weeks from SU. I used it for the first time on my "Party Hearty" card.

My second card uses "Crazy for Cupcakes," which is layered on a few nestie ovals. I used the new "Sweet Always" dp, and some pretty pink polka dot ribbon.

Enjoy the rest of your week!

10/19/08

An Odd Request

Good afternoon! I received an odd request from my Dad this week for a card.  He and my brother are scuba divers and just got back from a weekend where they took an advanced course.  He wanted a card for the instructor to go along with a gift he was giving him.  Here comes the odd part, he wanted a card with a scuba diver holding a rifle with a deer in the background.  The instructor is both a scuba diver and a hunter. I told him I had no stamps of any of the 3 requested things, so I did my own thing, which I thought would work for a hunter. My dad was disappointed that he didn't get his desired card, but as my mom told him, you can't request something that specific from an artist!
I made a belly band to go around the gift card box, featuring some Sizzix die cuts from my Big Shot.  I cut squares of the dp and then layered them on white cardstock before I ran it through my Big Shot with the Top Note die.  It created this neat patchwork look.  I also used the bird from the Sizzlit die cut, which I paired with a scallop circle.  Many thanks was stamped and cut out with my oval punches.  I think it's cute, even if it wasn't what my dad expected!
I also made this card yesterday for SC198 on Splitcoast.  I really liked the way the circle is framed by a few scallops, one underneath and one behind the dp.  I used the stamp set "Happy Blessings" from the new mini catalog, as well as some of the dp from that same catalog.  The scallop circles are Marvy Uchida punches and a Sizzix circle.  On the bottom piece of dp, I ran it through my cuttlebug embossing folder which has pumpkins on vines.  For the sentiment panel, I punched a leaf from an old CM punch and layered a vellum circle stamped with the sentiment on top of that.  I finished the card with some brads along the line of the dp.
Here's one more from my marathon of stamping!  This card features the absolutely adorable Flopsey from MFT.  I stamped Flopsey reading his book and then colored him with my SU! markers, adding some grass so that he is super comfy!  The dp is by SU! called "Sweet Always", and I cut three different designs with my nestie rectangles.  The flower is from the SU! punch out pack, which I paper pierced and put circles on top of to dress it up a bit.  I stamped part of the sentiment on Flopsey's main panel, and then the rest of the sentiment on a piece of Creamy Caramel cardstock which I tucked into the corner of the card.  I just love this sentiment, because it is so true, that with some people you can just pick up where you've left off no matter how long it has been since you've seen each other.  This one will be going out in the mail this week to a special friend.

Have a great rest of your weekend!

10/12/08

Boo Banner!


I am on a roll with these Big Shot banners! I told you I had a ton of ideas floating around in my head. In fact, I pictured this one last night as I was trying to fall asleep, and it kept me up for awhile!  I hung this boo banner on the hutch in my dining room, and it was just the size to fit along the doors.  

Here are some banner details:  I used K  & Co. dp, along with SU! paper.  I used the new Fence wheel from the SU! mini catalog, and the Halloween image stamp set.  The little images on the fence were stamped and them embossed with iridescent ice.  I cut them out and placed them on the fence.  The letters are monogram letters from Close to My Heart, and fit pretty well on the pennants.  I used my cropadile to punch holes in each of the scallop edges along the larger pennant.  I used my paper piercer to put smaller holes in the smaller pennant.  I think that's all, hope you enjoyed it!

10/11/08

Thankful for Big Shot!


Good evening! Today, I started my 3 day weekend, since I have Monday off for Columbus Day. I am super excited!  I spent some time making some stamping things this afternoon, and tried out my Big Shot Pennant die to make a banner for the fall.  I am in love with how this turned out! I used the Haiku dp from SU! and cardstock to make the pennants.  I also used the stamp set "True Friend" to stamp the images.  For the letters, I used the Simon on board chipboard letters, which I coated with chocolate chip craft ink and then coated with clear embossing powder and heated them. This gives them a glossy look.  On my stamped images I coated some with Stickles, and added rhinestone brads, or filigree brads.  I've included a picture of the banner on my dining room mantel, and them close-ups of each pennant.

Now I've got lots of gift ideas floating through my head!

9/22/08

Time for the Bubbly!


I had some time tonight to participate in the MFT Who's That Girl? second challenge. This week, we were challenged to use Time for the Bubbly, a piece of ribbon, 4 brads, and blue.  My card is really bright in real life! I used some new paper from BasicGrey, called Urban Prairie.  The funny story about this paper is that I actually got it at Michaels! I was shocked they had it because it is brand new.

On the card, I paper pieced the wallpaper and the rug on the floor using the dp.  The image is colored with my good 'ole SU! markers.  The scallops at the bottom of the card are 2 die cuts from my Big Shot. I placed stickles on the scallops of the green circle.  For my brads, I used some rhinestone brads on the flowers on my wallpaper, and then one on the sentiment oval.  The bubbles on the image are covered in stickles and the mirror is coated with crystal effects.

Have a great Monday. I'll be watching Dancing with the Stars in a few moments!

9/7/08

Trying New Things!

Yep, that's me, trying a few new things. I got the latest issue of Paper Crafts and saw some really neat "suspension cards" with a hanging element hanging between two layers. I gave it a try with my new Big Shot scallop circles. I first cut out the largest circle on the actual card. Then I cut out a smaller circle in Whisper White and Kiwi Kiss (the Kiwi Kiss layer is behind the white piece).  I stamped with the "Tasty Sweet" set, and a Michael's $ sentiment, then put ribbon between the two circles and suspended it in the middle of the larger circle. I am really excited how this turned out!

My next card uses a Hanna stamp that I haven't used before. I (almost) followed Beate's WSC56.  I used the scallop border on the pennant die to create the Riding Hood Red scallop border.  The
DP is Boxer by BasicGrey.  Hanna is colored with Copic markers, and the lamp shade was paper pieced.  

Enjoy the rest of your weekend!

9/6/08

Big Shot is in the House!

Hi all! If you haven't heard already, SU! has partnered with Sizzix to have their own line of special die cuts! The designs by SU! are just beautiful and coordinate so well with many stamps. My order came yesterday, and I had a chance to play around with them today.

The possibilities are endless!  I first tried the Basket and Blooms die, which cuts out an 
adorable basket. With some sticky strip, the basket is together in a flash. I decorated the outside with the "Cheers to You" stamp set.  The So Saffron scallop is from a die also, with this scallop and a larger scallop.  

This next card uses the largest scallop circle die cut as a card base. I cut out the scallop on white paper, leaving the top edge off the scallop so 
that it would stay together and leave me a card. I then layered a scalloped circle cut in Riding Hood Red over the white base.  I created the ornament hook with paper.  The "noel" is colored in with reinkers and an aquapainter.

My last card is my favorite! It uses the "Bird with Leaves and Flowers" die cut.  I cut the large scallop in Riding Hood Red, then cut the bird, branch and leaves, which all come on the same die.  The Tangerine Tango leaves are from a Creative Memories punch.  On the large scallop circle, I stamped these leaves from "True Friend" in Versamark, and embossed them with clear EP.  I added dimension to the leaves and branch by inking them with a dauber and ink.  

Have a great rest of your weekend, we are feeling the effects of  Hurricane Hanna right now!